
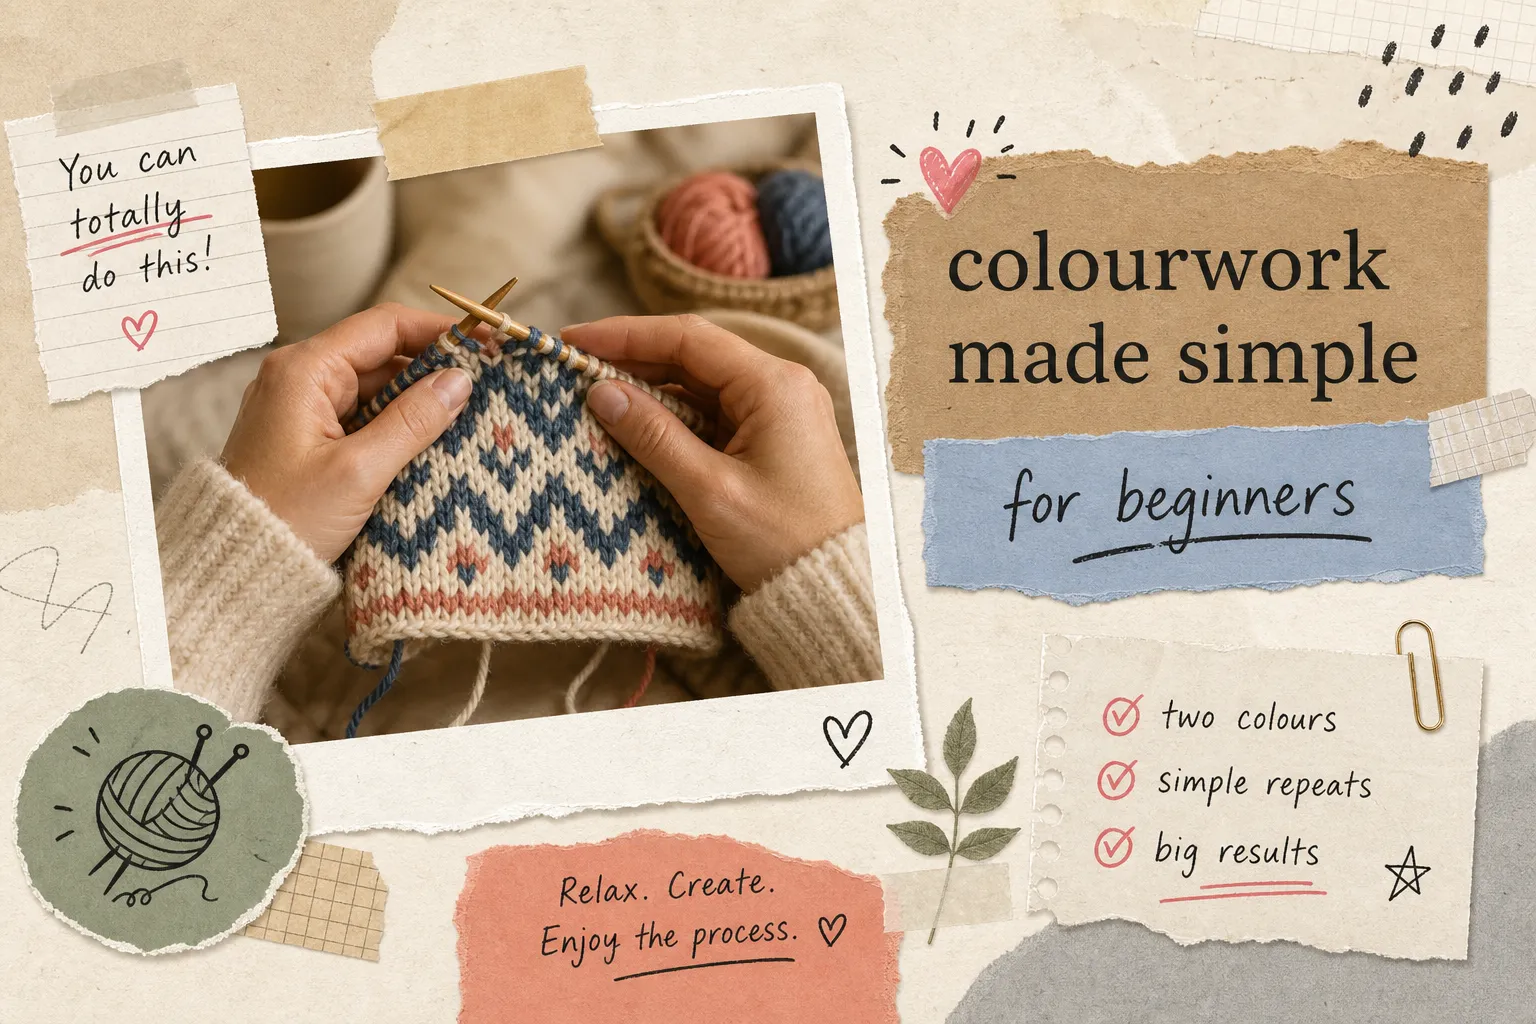
Multi-colour knitting has a reputation for being something only experienced knitters tackle. You see a beautifully patterned jumper or a cosy Fair Isle hat, and your first thought is probably “I could never do that.” Honestly, that’s a completely understandable reaction. But here’s the thing: stranded Fair Isle knitting for beginners is far more approachable than it looks. The reason it feels daunting is that most tutorials skip straight to the tricky parts without explaining the simple logic underneath.
Britain has a particularly rich tradition of this kind of knitting. Fair Isle, the most famous style within stranded colour-work, comes from a small island off the coast of Shetland, and its geometric patterns have been part of British craft culture for many decades. That history is part of what makes learning the technique feel so satisfying. You’re not just picking up a skill; you’re connecting with something genuinely enduring.
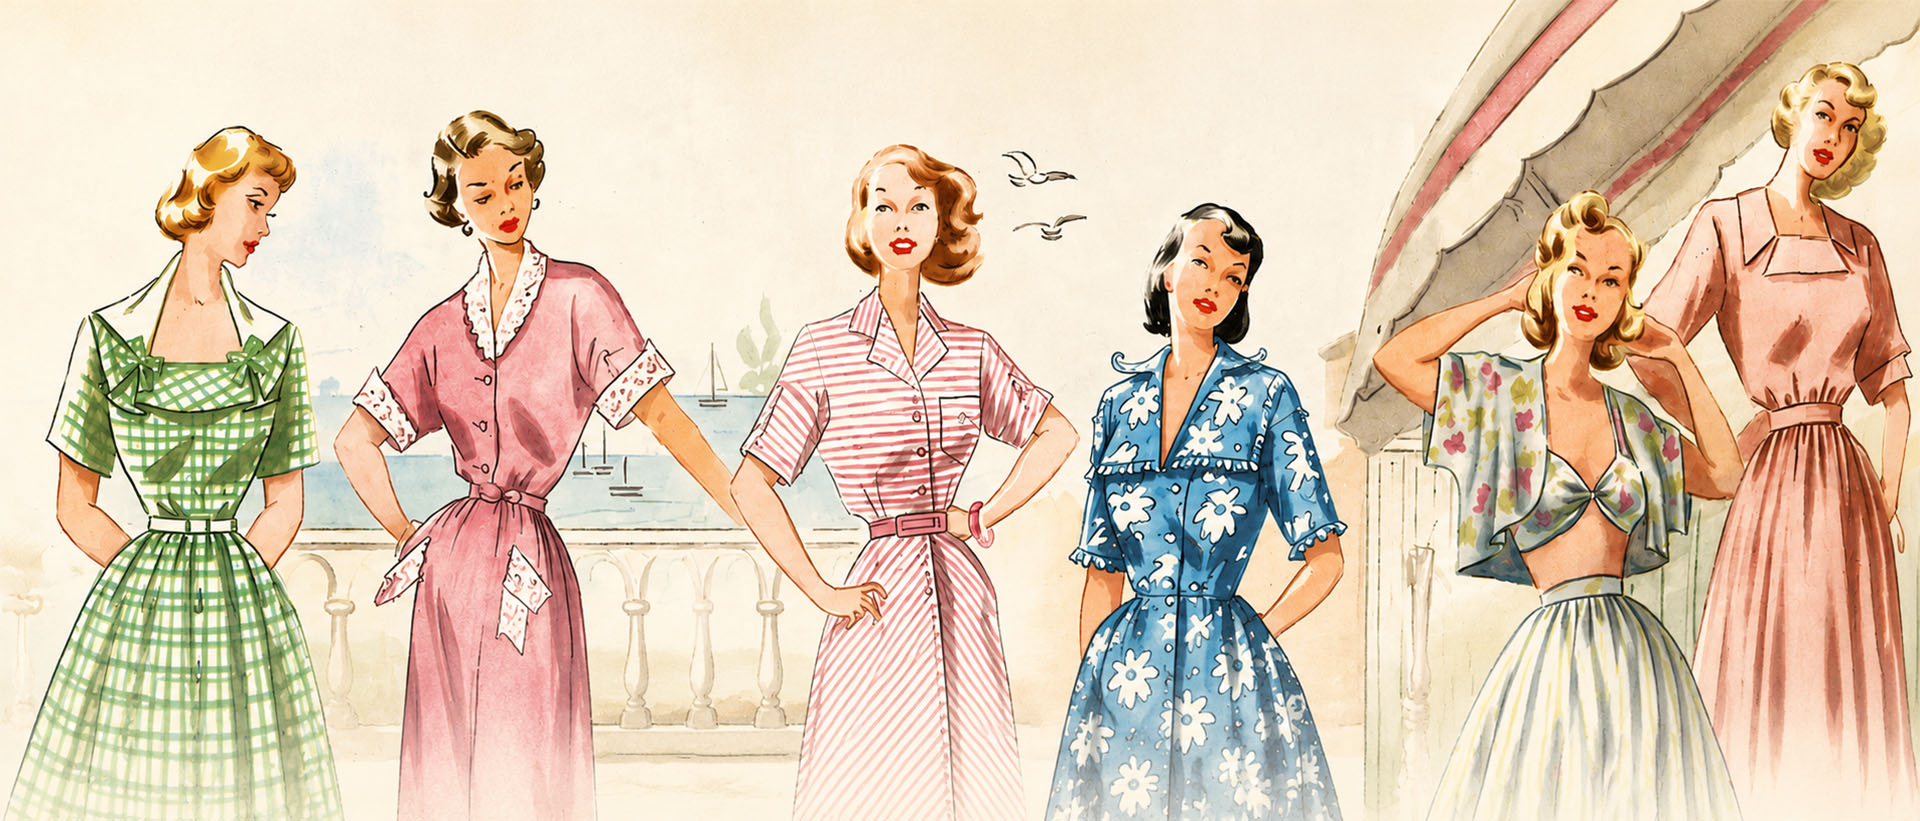
At My Vintage Wish , we stock an entire catalogue of authentic vintage and reproduction knitting patterns featuring classic stranded and Fair Isle designs from the 1930s through to the 1960s. Those patterns are waiting to be made. Here’s where to start before you pick your first one.
What stranded colour-work knitting for beginners actually is
Fair Isle, intarsia, and stranded knitting: what’s the difference?
Stranded colour-work is the umbrella technique where you use two or more colours in the same row or round, carrying the unused yarn loosely across the back of the work. That loose strand of unused yarn is called a float. Fair Isle is a specific style that sits within this category: it originated in Shetland and traditionally uses no more than two colours per round, with short floats that never stretch too far across the back. People often use “Fair Isle” as a catch-all term for any stranded colour-work, which is understandable, even if it’s not technically precise.
Intarsia is something different altogether. In intarsia, you don’t carry the yarn at all; instead, you work each colour block from a separate length of yarn, joining and dropping each section as you move between colour areas. Intarsia suits large isolated shapes, like a single motif on a plain background. For repeating all-over patterns, stranded colourwork is the right technique. Many knitting teachers recommend that beginners focus on stranded colour-work first and leave intarsia for later, and it’s easy to see why, the logic is more consistent and the rhythm builds quickly.
Why working in the round is the beginner’s advantage
Most stranded colour-work is worked in the round, which means you’re always looking at the right side of your fabric. Every row of your chart reads exactly as it appears on the page, from right to left, without any need to reverse the direction on alternate rows. That one fact makes the whole technique considerably more manageable. It’s the main reason that hats and cowls are the standard recommendation for a first colour-work project.
Choosing yarn and needles: your beginner setup
Why wool is the right fibre for stranded knitting
A smooth, plied wool or super wash wool in DK or worsted weight gives you the best possible start. Wool has natural elasticity that helps smooth out minor tension inconsistencies, and it blocks beautifully, which means any unevenness in your finished piece can often be corrected with a good soak and a gentle stretch. It also gives excellent stitch definition, so you can see exactly what you’re doing as you work. Cotton and rigid acrylic are far less tolerant of uneven tension: every variation shows up clearly, which is discouraging when you’re still finding your feet.
For your first project, choose two high-contrast colours so errors are easy to spot and the pattern reads clearly as you knit. Avoid anything textured, fluffy, or fuzzy. Mohair and bouclé obscure your stitches, which makes catching mistakes much harder, a practical point noted by most experienced colour-work instructors.
Needle size and why going up actually helps
Stranded knitting pulls tighter than plain stocking stitch because the floats across the back create additional tension on the fabric. The solution is straightforward: use needles half a size to a full size larger than your usual gauge needle for that yarn weight. For DK weight wool, that typically lands around 4.0 to 4.5 mm; for worsted, around 4.5 to 5.0 mm. Always swatch in colour-work before you start your actual project, and check that the finished swatch stretches comfortably widthways. If it resists, your floats are too tight and you need to loosen up before casting on properly.
How to hold two yarns without losing your mind
The one-hand method versus the two-hand method
When you’re knitting with two colours, you have two basic options for holding the yarn. The one-hand method keeps both yarns in the same hand, and you alternate picking up whichever colour the chart requires. The two-hand method assigns one colour to your left hand and one to your right, so each hand works independently. Many knitters find the two-hand method more efficient once they’ve practised it, though it may involve blending different knitting styles, for instance, working Continental with one hand while throwing English style with the other, depending on your existing habits.
Neither method is objectively superior. The right one is simply the one that lets you maintain relaxed floats and a comfortable pace. Try both on a small swatch before you decide, and don’t feel pressured to overhaul your established knitting style just because a tutorial recommends it.
Colour dominance and how it shapes your finished fabric
Whichever colour sits lower in your hand travels a slightly longer path to the needle, which makes each stitch a touch larger. That colour becomes the dominant colour: it reads bolder and more prominent in the finished fabric. The colour held higher recedes slightly, appearing softer. This matters because your dominant colour should typically be the one you want to pop visually, whether that’s the background or the pattern motif.
Once you assign a position to each colour, keep it consistent for the entire project. Swapping which yarn sits where mid-project creates visible inconsistencies in the fabric, even if you can’t immediately see why something looks off. Decide at the cast-on and stick with your choice.
Chart reading for stranded colour-work knitting beginners
The simple rules that make a chart readable
A colour-work chart looks intimidating until you understand its logic, at which point it becomes genuinely straightforward. Each square represents one stitch; the colour or symbol inside the square tells you which yarn to use for that stitch. The chart reads from the bottom upward, because earlier rounds are at the bottom and later rounds are at the top. For in-the-round knitting, you always read from right to left across each row. Find the chart key, locate Round 1 at the bottom right corner, and work across to the left, one stitch at a time, knitting each stitch in the colour shown.
That’s the whole system. Bottom to top, right to left, one square per stitch.
Using stitch markers to stay on track
Most colour-work charts show a repeating motif rather than the full circumference of the project. You’ll work that same section multiple times around the round. Place a stitch marker at the start of the round, then add additional markers at the beginning of each chart repeat. If you lose your place, you only need to count back to the nearest marker rather than across the entire round. Highlighting the current round on a printed chart before you begin also eliminates the most common beginner mistake, which is accidentally working the wrong row.
Keeping your floats relaxed and your tension even
How to prevent the dreaded puckered fabric
Puckering happens when floats are pulled too tight across the back, drawing the stitches together and distorting the right side of the fabric. The fix is to spread the live stitches along the right needle before you carry the unused yarn across. Slide them apart until the float has room to span the full width it needs to cover. Do this consistently, and the puckering problem largely disappears. Avoid tugging the new yarn tight after any colour change; let the float sit relaxed and loose.
When and how to catch long floats
When one colour travels more than four or five stitches without being knitted, the float becomes long enough to snag on fingers or jewellery when the garment is worn. You catch it by looping the unused yarn over the working yarn at roughly the midpoint of the span, without knitting it into the stitch itself. The float gets anchored neatly to the back without appearing on the right side.
One important detail: vary where you catch floats from row to row. Catching in exactly the same spot on every round creates a faint ridge that shows through on the right side. Aim to catch every three to five stitches, but shift the precise position slightly each time to keep the back tidy without leaving any trace on the front.
Three simple beginner Fair Isle projects to cast on right now
Start small: hats, cowls, and wrist warmers
The three best first projects for beginner stranded Fair Isle, are a hat, a cowl, or a pair of wrist warmers. All three are worked in the round, use short repeating motifs, and are small enough to complete in a reasonable amount of time. A hat delivers a satisfying, wearable result quickly, which keeps motivation high. A cowl is more tolerant of minor tension variations, since they tend to disappear in the natural folds of the fabric when worn. Wrist warmers require the least yarn of all, ideal if you want to experiment with a new colour combination without committing to a larger project first.
Where to find authentic vintage colour-work patterns to practise on
Once you’ve got the basics down, working from a pattern with genuine historical character makes the whole project more meaningful. My Vintage Wish stocks a curated range of authentic vintage and reproduction Fair Isle and stranded colour-work knitting patterns, spanning the 1930s through to the 1960s. These are real period designs with classic geometric repeats, the kind that look equally stunning in modern yarns and suit every skill level from cautious beginner to confident intermediate. Patterns are available at accessible price points, making it easy to build a collection of projects without a large outlay, browse the full range at My Vintage Wish to find your first Fair Isle project.
You’re more ready than you think
If you’ve read this far, you already understand the essentials of stranded colourwork knitting for beginners: carry two colours across each round with unused yarn floating across the back, work on smooth wool with slightly larger needles, keep your yarn positions consistent, and spread your stitches before every float. The technique is entirely learnable, and the only way to get comfortable with it is to cast on something real. An imperfect first swatch teaches you more than any amount of reading ever will. The tension will even out, the chart will start to feel intuitive, and before long you’ll be looking at vintage Fair Isle patterns thinking “yes, I can do that.” Because you genuinely can.