
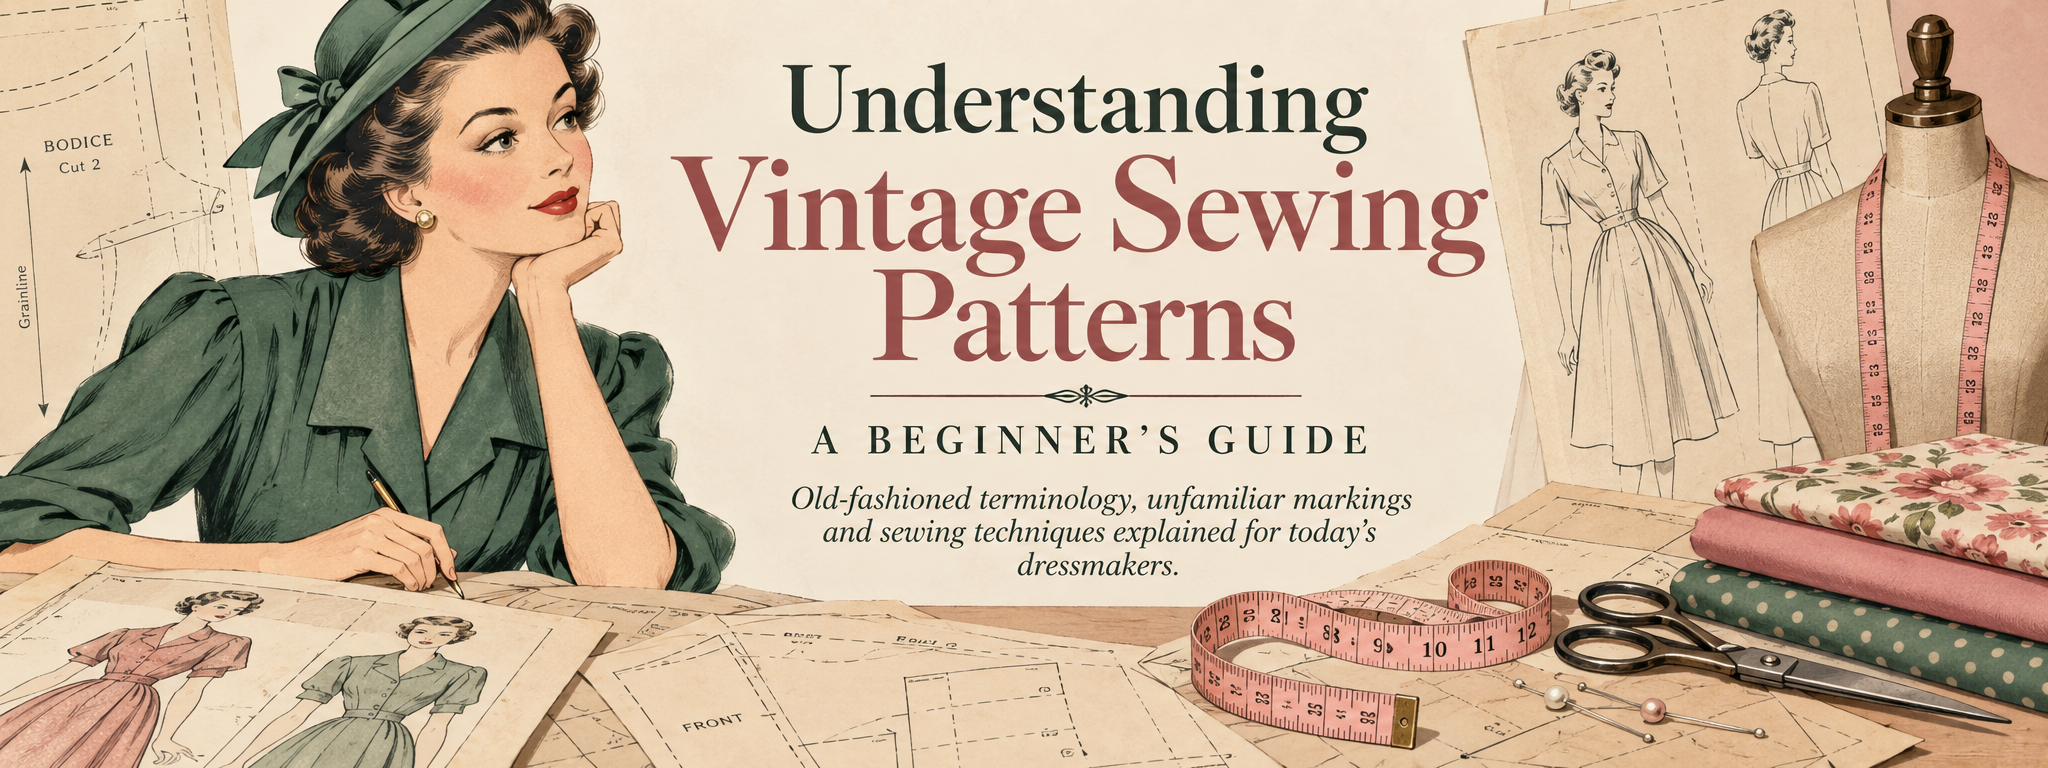
Old-fashioned terminology, unfamiliar markings and sewing techniques explained for today’s dressmakers.
You’ve found a vintage sewing pattern you love. Perhaps it’s a 1930s afternoon dress, a practical wartime skirt or a beautifully fitted 1950s jacket. But when you open the instructions, things aren’t quite what you expected. There may be unfamiliar terminology, unusual markings or instructions that assume you already know how to construct a collar, finish a placket or insert a fastening. Don’t be put off. Vintage patterns aren’t necessarily more difficult than modern ones. They were often written for dressmakers with an existing knowledge of sewing.
Once you understand their terminology and construction methods, those old instructions become much easier to follow.
Why Are Vintage Instructions So Brief?
Many older patterns assumed their readers understood basic dressmaking techniques. Instead of explaining every stage, a pattern might simply say, “Make up the bodice” or “Face the neck edge.” The writer expected you to know how to join seams, apply a facing and assemble the garment. Some publishers provided detailed diagrams; others supplied only a few paragraphs.
Modern approach: Read the complete instructions before cutting. Identify unfamiliar techniques and consult a reliable sewing reference when necessary.
Understanding Old Sewing Terminology
Many vintage sewing expressions are still used today, although some have become less familiar.
| Vintage term | Modern meaning |
|---|---|
| Make up | Assemble or sew the garment |
| Tack | Temporarily hold fabric with long hand stitches; baste in American terminology |
| Machining | Sewing with a sewing machine |
| Turnings | Extra fabric for seams or hems; check the context |
| Face | Finish an edge with a facing or facing strip |
| Bind | Enclose a raw edge, often using bias binding |
| Ease in | Fit a longer edge to a shorter one without visible gathers |
| Draw up | Pull gathering stitches to create fullness |
| Fell | Secure a folded edge with small hand stitches; method varies |
| Slip-stitch | Sew using small, mostly concealed hand stitches |
| Press | Shape fabric with an iron without dragging it |
| Wrap | In placket instructions, the fabric section that folds over or finishes an opening, often concealing the fastening |
| Wrap-over | A garment style in which one section overlaps another |
| Slide fastener | An older name for a zip |
| Plaits | Pleats, or regularly arranged fabric folds |
What Exactly Is a Wrap?
This is one of those terms that can cause considerable confusion.In older dressmaking instructions, a wrap can mean the fabric used to form or finish the overlapping part of a placket.
For example, a skirt instruction might tell you to attach the wrap to one side of an opening. This doesn’t mean you’re making a wraparound skirt. The wrap helps finish the opening and may conceal the fastenings.
By contrast, a wrap-over dress or skirt is a garment designed with one section crossing over another, usually at the front. The same word can therefore describe two quite different things. Always look at the surrounding instructions to establish which meaning is intended.
Two other useful expressions are “right sides together”, meaning the outward-facing fabric surfaces are placed against one another, and “turn to the right side”, meaning turn the sewn piece so its intended outside is visible.
Understanding Pattern Markings
Some older commercial patterns were supplied as pre-cut tissue pieces without printed markings. Instead, small punched holes, called perforations, identified construction details. Their meanings varied between manufacturers, so always consult the original marking key.
Common markings include:
Grainline: Indicates how to position the pattern on the fabric. A straight-grain arrow normally lies parallel to the selvedge.
Notches: Small marks used to match corresponding seams.
Dots and circles: May indicate joining points, stitching positions or placement details.
Darts: Shaped folds stitched to fit the garment around the body.
Cut on fold: Place the indicated edge against folded fabric without cutting along that edge.
Stitching line: Shows where the seam is sewn rather than where the fabric is cut.
Triangles and Cloverleaf Markings: On older sewing patterns, triangular markings may indicate matching points, buttonholes, notches or special construction instructions. Some early patterns also used symbols resembling small clover leaves to identify pleats, gathering positions or edges placed on the fold. Their meanings varied between manufacturers, so always consult the original pattern’s marking key before cutting or sewing.
Never assume that markings on one vintage pattern mean exactly the same thing on another.
Are Seam Allowances Included?
This is one of the most important things to establish before cutting your fabric.
In many vintage sewing patterns, particularly British ones, seam allowances are referred to as “turnings”. This older terminology can cause confusion, but it simply describes the extra fabric needed beyond the stitching line to make a seam or finish an edge.
A seam allowance is the fabric between the stitching line and the cutting edge. Many modern commercial patterns use a 5/8-inch (approximately 1.5 cm) allowance, but vintage patterns vary. For example, if your instructions state “½-inch turnings allowed on all seams”, it means that a ½-inch seam allowance is already included in the pattern. You don’t need to add it. However, if the instructions say “no turnings allowed”, it means the necessary allowances haven’t been included and must be added before cutting. Remember that hem turnings refer to the extra fabric needed for the hem, which may be considerably deeper than an ordinary seam allowance.
Modern approach: Always check whether turnings (seam allowances) are included and how much has been allowed. Never assume that a vintage pattern uses the modern standard seam allowance.
Vintage Sizing Isn’t Modern Sizing
A vintage size 14 doesn’t necessarily correspond to today’s size 14.
Sizing systems have changed, and manufacturers used different measurements. Instead, work from the actual bust, waist and hip measurements supplied with the pattern. It’s also useful to
consider finished garment measurements.
Wearing ease provides room for movement and comfort. Design ease creates the intended silhouette. A fitted 1950s bodice may have relatively little ease at the waist, while a loose 1920s dress may have considerably more room.
Modern approach: Compare your measurements with the pattern and measure the pieces where necessary, accounting for seams, darts and shaping.
Making a toile, or trial garment, is particularly helpful when working with unfamiliar sizing.
Understanding Vintage Plackets
One construction detail that frequently confuses modern dressmakers is the placket.
A placket is a finished opening in a garment, allowing it to be put on and taken off more easily. You’ll encounter plackets in dresses, skirts, blouses and sleeves, sometimes with very little
explanation. Before zips became widely used, plackets were especially useful in fitted garments. A 1930s dress might have a concealed opening at the side waist, secured with hooks and eyes or
press studs.
Common Types of Placket
Side placket: A section of the side seam remains open, with finished edges that may overlap. Hooks and eyes or press studs often secure it.
Continuous lap placket: A single strip of fabric finishes both edges of an opening, forming a neat lap. Often used on sleeve openings.
Sleeve placket: An opening near the wrist that allows a fitted cuff to pass over the hand.
Faced placket: An opening finished with additional fabric to strengthen and neaten its edges.
Understanding the Wrap, Overlap and Underlap
These terms are closely related but aren’t always interchangeable.
The overlap is the outer portion that covers an opening or fastening.
The underlap sits beneath it, helping prevent gaps.
The wrap, when used in placket construction, generally refers to a fabric section used to form or finish the overlapping side. Depending on the method, it may be an extension of the garment or an attached strip.
The exact arrangement depends on the original instructions. When finished, many vintage plackets look almost like an ordinary seam. If instructed to leave the side seam open for the placket, don’t sew that section shut. It must be finished separately.
Can You Replace a Placket with a Zip?
Sometimes, but it isn’t always straightforward. The original placket may include extra fabric for the overlap, and changing the fastening can affect construction and fit. Before altering it, check the pattern pieces, seam allowances and opening length.
For your first vintage project, following the original method is often the easiest way to understand how it works.
Why Do Vintage Patterns Mention Narrow Fabric Widths?
Older patterns often recommend fabrics measuring 36 or 39 inches wide, rather than the wider materials commonly available today. But buying the same length of modern 140 cm-wide fabric doesn’t automatically guarantee you’ll have enough. The cutting layout may have been designed for narrower material, while directional prints, nap and bias cutting can affect the quantity required.
Modern approach: Work out a cutting layout using the actual width of your chosen fabric before buying.
Pay particular attention to one-way designs and fabrics such as velvet.
Unfamiliar Fabric Names and Modern Alternatives
Some fabric names appear less frequently in modern sewing shops.
Rayon: A manufactured cellulosic fibre. Viscose is one type of rayon, but fabrics vary in weight and drape.
Crêpe: A fabric with a distinctive textured surface, available in different fibres and weights.
Lawn: A fine, lightweight woven fabric, often cotton.
Georgette: A lightweight, sheer or semi-sheer fabric with a soft drape.
Shantung: Traditionally associated with silk, often with a slightly irregular, slubbed texture.
When choosing modern alternatives, consider weight, structure and drape rather than relying solely on the fabric name. A crisp cotton won’t behave like soft viscose, and a lightweight crêpe won’t necessarily support the shape of a tailored jacket.
Other Construction Quirks
Fastenings: Side openings, hooks and eyes, press studs and button plackets appear frequently. Press studs are also called snaps in American instructions.
Interfacing: Older patterns may recommend sew-in muslin or canvas. Modern fusible interfacing can sometimes be substituted, but test it first.
Hand finishing: Hems, facings and fastenings were often finished by hand. These methods remain useful where visible machine stitching would spoil the appearance.
Missing pattern pieces: Some instructions expect you to cut strips, facings or bindings directly from measurements rather than supplying separate paper pieces.
Brief construction sequences: A single instruction may cover several operations that a modern booklet would explain individually.
Always check the pattern-piece list before deciding something is missing.
Before You Cut Your Fabric
A little preparation makes vintage sewing considerably easier.
- Read the complete instructions.
- Identify every pattern piece and check the cutting diagram.
- Confirm whether seam and hem allowances are included.
- Compare your measurements with the pattern.
- Choose fabric with suitable weight and drape.
- Transfer all construction markings accurately.
- Make a toile if the fit or construction is unfamiliar.
If you’re uncertain about a technique, practise it on a fabric scrap before working on your garment.
Enjoy the Process
One of the pleasures of vintage dressmaking is discovering how clothes were made in different periods. Some methods will feel familiar, others may seem unnecessarily complicated, and occasionally you’ll discover a technique that works beautifully. You don’t have to reproduce every historical method to enjoy making a vintage garment. Modern equipment and suitable contemporary techniques can be helpful, provided they don’t compromise the design or fit.
The important thing is understanding what the original instructions are asking you to achieve. Take your time, choose a pattern suited to your experience and enjoy the process.
At My Vintage Wish, we believe these patterns deserve to be sewn and enjoyed, not simply admired for their age.