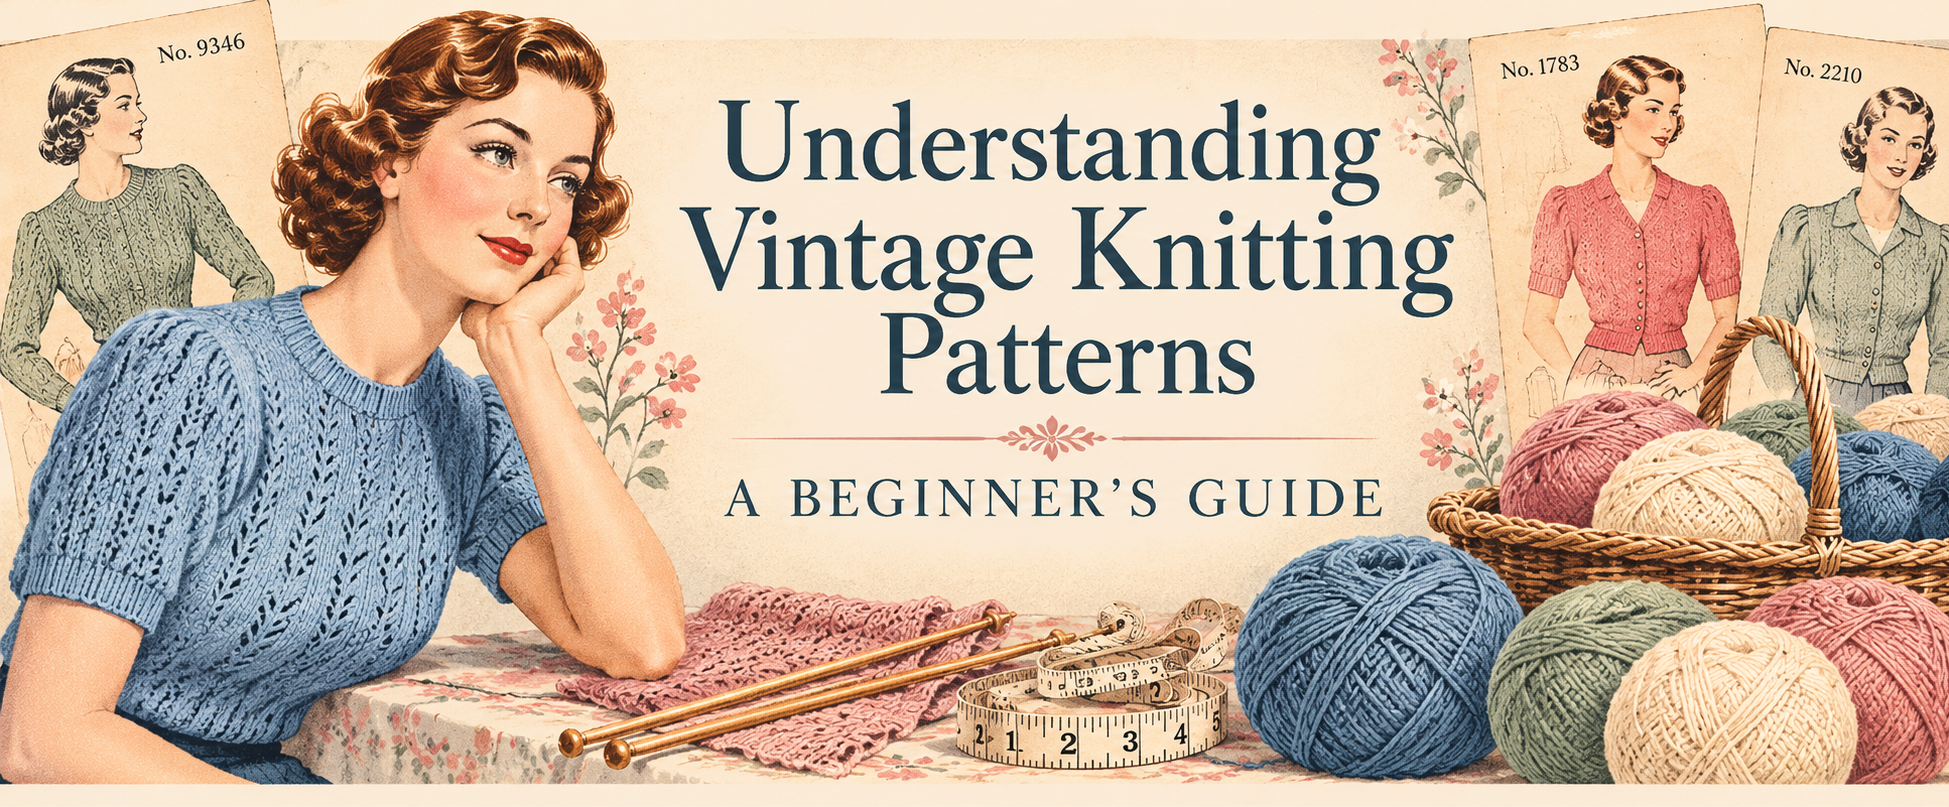
You’ve found a lovely 1930s jumper or a 1940s cardigan, and you’re looking forward to knitting it. Then you open the pattern and discover that the instructions seem to be written in another language. There are unfamiliar abbreviations, old-fashioned needle sizes and perhaps a whole jumper described in just a couple of pages. Don’t let that put you off. Vintage knitting patterns aren’t necessarily more difficult than modern ones. They’re simply written differently, and once you understand how they work, they become much easier to follow. Let’s look at some of the things you’re likely to encounter.
Why Are Vintage Knitting Instructions So Brief?
If you’re used to modern knitting patterns with photographs, diagrams and detailed explanations, an original pattern from the 1930s or 1940s can come as quite a surprise. Many were printed on small leaflets or in magazines, where space was limited. They were also written for knitters who were expected to know basic techniques such as casting on, increasing, decreasing and sewing pieces together. Rather than explaining every step, the instructions concentrated on the stitch counts, shaping and measurements needed to make the garment. This doesn’t mean everyone in the past was an expert knitter. It simply means that the pattern writer often assumed a certain amount of practical knowledge. Today, we have the advantage of being able to look up unfamiliar techniques whenever we need them.
Getting to Know the Abbreviations
One of the first things you’ll notice is how much information is squeezed into a few letters. Fortunately, many of the abbreviations are still familiar today.
Here are some common ones:
| Abbreviation | Meaning |
|---|---|
| K | Knit |
| P | Purl |
| St or sts | Stitch or stitches |
| K2tog | Knit two stitches together |
| P2tog | Purl two stitches together |
| Inc | Increase |
| Dec | Decrease |
| Rep | Repeat |
| Alt | Alternate |
| Beg | Beginning |
| Rem | Remaining |
| Patt | Pattern |
| St st | Stocking stitch |
You may also encounter yfwd, yon or yrn, which describe different ways of taking the yarn around the needle. These are particularly common in older lace patterns. Don’t assume they are always interchangeable. Their exact use depends on the surrounding stitches and the instructions. If you come across an unfamiliar abbreviation, check whether the original pattern provides an explanation before looking elsewhere.
Making Sense of a Knitting Instruction
Here’s a simple example of the sort of instruction you might find: K2, P2, rep to end. This means knit two stitches, then purl two stitches, repeating that sequence until you reach the end of the row.
Another instruction might say: Dec 1 st at each end of next row, then every following 4th row 3 more times. In plain English, this means decrease one stitch at each end of the next row, then decrease at each end of every fourth row a further three times. That’s four decrease rows altogether, removing eight stitches in total. Notice how much information the instruction contains in just a few words.
My advice is to read a complicated instruction through before knitting it. If necessary, write the sequence out on a separate piece of paper and tick off each row as you work. It’s much easier than trying to remember where you are.
Understanding Old Knitting Needle Sizes
This is one of the most important differences between vintage and modern British patterns.Older UK knitting needles were numbered in the opposite direction to the metric sizes we use today. The higher the old UK number, the finer the needle.
Here are some common conversions:
| Old UK size | Modern metric size |
|---|---|
| No. 14 | 2 mm |
| No. 13 | 2.25 mm |
| No. 12 | 2.75 mm |
| No. 11 | 3 mm |
| No. 10 | 3.25 mm |
| No. 9 | 3.75 mm |
| No. 8 | 4 mm |
| No. 7 | 4.5 mm |
| No. 6 | 5 mm |
| No. 5 | 5.5 mm |
For example, if your 1940s jumper asks for No. 10 needles, you’ll need 3.25 mm needles, not 10 mm!
These are traditional UK conversions. American needle numbers follow a different system, so always establish which country the original pattern came from.
What Does Tension Mean?
Tension is simply the number of stitches and rows you knit within a particular measurement. Many vintage British patterns give tension over one inch rather than the 10 cm measurement commonly used today.
For example: 8 stitches and 11 rows to one inch. That’s roughly 32 stitches and 43 rows over 10 cm. These are approximate conversions of the original figures, not a replacement for checking your own tension.
Why does it matter? Because if your stitches are larger or smaller than the pattern expects, your finished jumper may not fit.
Before starting, knit a tension square using your chosen yarn and the stitch specified in the pattern. Follow the original finishing instructions where appropriate, taking care not to stretch or flatten textured stitches unnecessarily, then measure your sample. You may need to change needle size to achieve the correct tension.
We’ve covered this in more detail in our article Choosing Modern Yarn for Vintage Knitting Patterns, including how to find a suitable replacement for discontinued wool.
How Vintage Jumpers and Cardigans Are Constructed
Many vintage garments were designed to be knitted in separate pieces and sewn together afterwards.
A typical jumper might have a back, a front and two sleeves. The back and front were often knitted from the lower edge upwards, with shaping for the armholes, neckline and shoulders. However, not every piece was worked this way.
Some 1930s patterns, particularly those with interesting sleeve shapes, were knitted from the top down towards the cuff. Instead of beginning at the wrist and increasing towards the upper arm, you might start with the wider upper sleeve and gradually decrease stitches as you work downwards. This can seem unusual if you’re accustomed to knitting sleeves from the cuff upwards, but it’s simply another way of constructing the garment. It doesn’t necessarily mean the whole jumper is knitted from the top down. The sleeve may still be worked separately and sewn into the armhole afterwards. The important thing is to follow the direction given in the original instructions rather than assuming every piece begins at the bottom.
You’ll often see headings such as Back, Front, Sleeves, Neckband and To Make Up.
That last heading is particularly important. To Make Up means assembling and finishing the garment. It may include sewing the shoulder and side seams, attaching sleeves, working neckbands and adding buttons. Some older patterns give only a few lines of finishing instructions, so it’s worth reading this section before you begin knitting. You’ll have a much clearer idea of how the individual pieces are meant to fit together.
Understanding Shaping Instructions
Shaping is simply how the pattern creates the garment’s outline.
Increases add stitches to make a piece wider, while decreases or casting off remove stitches to make it narrower. For example, a sleeve knitted from the cuff upwards may begin quite narrow and gradually increase in width towards the upper arm. A sleeve knitted from the top down might do the opposite, beginning wider and gradually decreasing towards the wrist.
The pattern may tell you to increase or decrease at each end of every sixth row until you have a specified number of stitches. Keeping a row counter or making a small written chart can be particularly helpful here. Also pay attention to instructions such as work straight or continue without shaping. These mean you carry on in the established stitch pattern without increasing or decreasing, usually until you reach a stated length. And remember that measurements such as work until the piece measures 12 inches normally refer to the total length of the knitting at that stage, not another 12 inches added to what you’ve already knitted.
Check the Measurements, Not Just the Size
Vintage sizing can be another source of confusion. A jumper described as fitting a 34-inch bust doesn’t necessarily have a finished measurement of 34 inches. It may have been designed with extra room, or to fit quite closely, depending on the style.
Before choosing a pattern, compare the stated body measurements with your own and look for any finished garment measurements. It’s also worth checking the length. Many 1930s and 1940s jumpers were designed to finish around the waist, rather than at the hip like many modern styles. That shorter length may be exactly what gives the garment its characteristic appearance.
If you decide to alter the length, remember that it can affect yarn requirements and the overall proportions.
Before You Cast On
A few minutes of preparation can make an enormous difference.
Read the complete pattern, including the finishing instructions. Check the needle sizes, yarn requirements and tension. Make sure you understand any unusual abbreviations and identify which pieces you’ll be knitting and in which direction. It’s also helpful to keep a pencil, notebook and row counter nearby.
If something looks confusing, work through it one instruction at a time rather than trying to understand the entire garment at once. And if you find an apparent mistake in an old pattern, don’t immediately assume you’ve misunderstood it. Printing errors do occur. Check the stitch counts and surrounding instructions before deciding how to proceed.
Enjoy Making Something From the Past
There’s something rather satisfying about taking a knitting pattern written eighty or ninety years ago and turning it into a garment you can wear today. The original instructions may seem unfamiliar at first, but they become much less intimidating once you understand the terminology and construction. You don’t need to know every technique before you begin. You simply need a suitable pattern, a little patience and the confidence to work through it carefully.
And if your first vintage project teaches you a few new things along the way, that’s part of the pleasure.
At My Vintage Wish, you’ll find authentic vintage knitting patterns from the 1920s through to the 1960s, including jumpers, cardigans, twin sets and accessories.
Whether you’re planning your first vintage jumper or looking for your next challenge, there’s plenty to discover.