You’ve found a lovely 1930s jumper or a 1940s cardigan that you’d really like to knit. The pattern looks straightforward enough, but then you reach the materials list. It asks for eight ounces of a wool you’ve never heard of, in a 3-ply or perhaps a 4-ply, made by a company that may have disappeared decades ago. So what do you use instead? Fortunately, you don’t need to track down the original wool to make a vintage pattern. Modern yarns can work beautifully, provided you choose something suitable for the design.The trick is knowing what to look for.
Understanding Old Yarn Descriptions
Many vintage knitting patterns, particularly those from the 1930s and 1940s, were written for specific brands of wool. Names such as Patons, Bairnswear and Copley’s frequently appear in the original instructions. You’ll also come across descriptions such as 2-ply, 3-ply, 4-ply, fingering and double knitting. These can be confusing because the way yarns were described historically doesn’t always correspond neatly with modern classifications.
For example, a vintage 3-ply might be close to a modern fine 4-ply, while another could require something considerably lighter. Even two yarns carrying the same modern weight description may produce quite different results. The important thing to remember is that the number of plies alone doesn’t tell you whether a yarn will be suitable.
Think of the original yarn description as a starting point rather than an exact shopping instruction.
Start With the Pattern’s Tension
If there’s one thing worth checking before buying your wool, it’s the tension.
Tension, sometimes called gauge, simply means how many stitches and rows fit into a particular measurement when knitted. Modern patterns usually give this over 10 cm, while many older
British patterns use one inch.
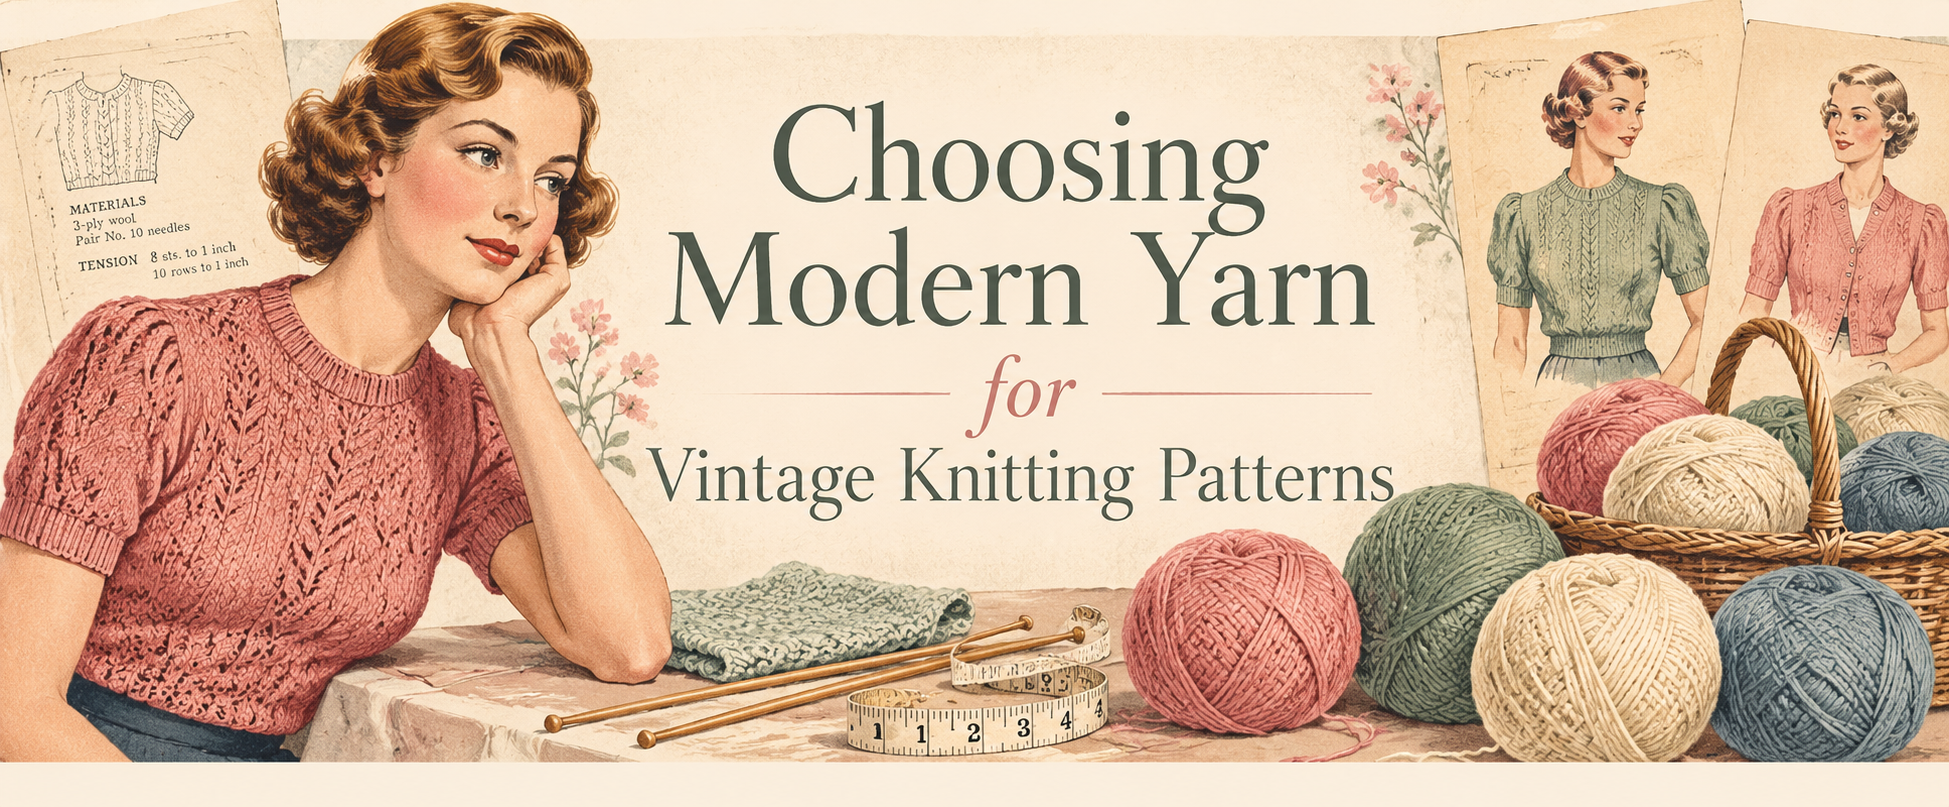
You might find something like: Tension: 8 stitches and 10 rows to one inch, using No. 10 needles.
This gives you much more useful information than the original brand name. Eight stitches to an inch is approximately 32 stitches over 10 cm. That’s a fairly fine fabric, so you’d begin by looking at finer modern yarns rather than reaching straight for a standard double knitting wool. The old UK No. 10 needle is equivalent to 3.25 mm. You can then compare the suggested tension on modern yarn labels and choose something reasonably close to try.
Remember, the tension printed on a ball band is only a guide. Your own knitting may be tighter or looser.
Why a Tension Square Is Worth the Trouble
I know it’s tempting to skip this part, especially when you’re eager to get started. But a small tension square can save you hours of frustration.
Using your chosen yarn and the needles suggested in the pattern, knit a square larger than the area you need to measure. For a modern 10 cm measurement, a square approximately 15 cm across is a useful starting point. Use the stitch pattern specified for the tension measurement. If the original gives tension in a textured stitch rather than stocking stitch, that’s the stitch you’ll need to test.
Wash and dry your square according to the yarn’s care instructions, then measure the centre without stretching it. If you have too many stitches within the required measurement, try a larger needle. If you have too few, try a smaller one.
For example, imagine your pattern requires 32 stitches over 10 cm, but your square measures only 28. If you continued without adjusting anything, the finished garment would be noticeably wider than intended.
Once you’ve matched the stitch tension, check the row tension too, particularly where shaping depends on a certain number of rows. And don’t forget to feel the fabric. It should be pleasant to wear, not so tightly knitted that it becomes stiff or so loose that it loses its shape.
Choosing the Right Fibre
Getting the correct tension is important, but it’s not the whole story.
Different fibres behave differently, even when knitted to exactly the same measurements.
- Wool is often a good starting point for vintage jumpers and cardigans. It has natural elasticity, which helps ribbed waistbands, cuffs and fitted garments keep their shape.
- Cotton can work well for summer tops and certain lighter designs, but it generally has less elasticity than wool. A fitted jumper originally intended for wool may hang differently if made in cotton.
- Viscose and bamboo-based yarns can create a softer, more flowing fabric, although some have a tendency to stretch or grow under their own weight.
- Acrylic and wool blends are also possibilities. Their suitability depends on the particular yarn, its elasticity, texture and how it behaves after washing.
There’s no rule saying you must use pure wool for every vintage design. Just consider how the original garment was intended to fit and whether your chosen yarn will give a similar result.
Think About the Shape of the Garment
Vintage knitwear often has a different silhouette from modern designs. Many 1930s jumpers have neatly fitted waists, carefully shaped shoulders and quite close-fitting sleeves. Some 1940s designs feature deep ribbing, textured panels or decorative yokes.
The yarn plays an important part in creating these shapes. A very soft, yarn might look lovely in the ball but fail to support a structured shoulder or fitted waistband. Likewise, a thick or fluffy yarn could obscure the delicate stitch pattern of a finely knitted jumper.
Before committing to your choice, look carefully at the original illustration and ask yourself how the finished fabric needs to behave. Sometimes a fairly ordinary, smooth wool will give a more convincing result than a luxurious speciality yarn.
How Much Modern Yarn Will You Need?
Here’s another little difficulty with vintage patterns.
Older instructions often give yarn quantities in ounces rather than grams or metres. For example, a pattern might ask for 7 oz of wool. That’s approximately 198g, usually rounded to 200g. However, buying
200 g of a modern substitute doesn’t necessarily mean you’ll have enough.
Different yarns contain different lengths of wool per gram. A fine yarn might provide considerably more metres in a 50 g ball than a heavier one.
If you can find the original yarn’s length, use that to estimate how much modern yarn you’ll need. If you only have the original weight, an exact conversion isn’t possible without knowing more about the original yarn. In that case, look for information about the discontinued brand, compare similar yarns and allow a little extra rather than buying the bare minimum.
It’s also sensible to buy enough from the same dye lot, especially when knitting a larger garment.
A Practical Example: A 1930s Jumper
Let’s imagine you’ve chosen a 1930s jumper pattern calling for 6 oz of 3-ply wool. The instructions give a tension of 8 stitches to one inch on old UK No. 10 needles.
Here’s how I’d approach choosing a modern substitute. First, convert the needles to 3.25 mm and the tension to approximately 32 stitches over 10 cm. Next, look at fine modern yarns whose suggested tension is reasonably close. A fine 4-ply might be worth testing, but a lighter yarn could be more suitable.
Knit a tension square, wash it and check both the measurements and the feel of the fabric. If the tension matches but the fabric is too stiff or too loose, try another yarn rather than forcing the first one to work.
Finally, consider the original quantity of approximately 170 g. That tells you the weight of the original wool, but not the exact length required in your substitute. You’ll need to make a sensible estimate based on the replacement yarn’s metreage, with an allowance for uncertainty.
A little preparation at this stage is much better than discovering halfway through a jumper that your chosen yarn isn’t quite right.
What If the Pattern Doesn’t Give a Tension?
Occasionally, you’ll come across an older pattern that gives the wool and needle sizes but no tension at all. This makes substitution more difficult, but not necessarily impossible.
Start by researching the original yarn if you can. The needle size and stitch pattern may also provide clues. If the pattern includes a finished measurement and enough stitch information, you may be able to estimate the intended tension.
For example, if a piece has 120 stitches across a stated finished width of 15 inches, that suggests approximately 8 stitches to an inch, assuming the measurement corresponds to that stitch count and the fabric isn’t stretched. Treat this as an estimate, not a guaranteed answer.
Knit a sample, check the measurements carefully and compare the fabric with the original design.
If the pattern is particularly complicated or the sizing is uncertain, it may be worth making a small test section before committing to the entire garment.
Making Vintage Patterns Work Today
One of the pleasures of knitting from an original vintage pattern is discovering how much thought went into the design. The shaped waistbands, interesting stitch patterns and clever little details are just as appealing now as they were when the patterns were first published. And although the original wool may no longer be available, that doesn’t mean the design has to remain unmade. With a suitable modern yarn, a little experimentation and a properly checked tension square, you can recreate the character of a vintage garment while choosing a fibre that suits your needs.
The best substitute isn’t necessarily the yarn with the closest name or ply number. It’s the one that gives you the right tension, the right fabric and the right finished shape.
If you’re looking for a project, explore our collections of authentic 1930s and 1940s knitting patterns at My Vintage Wish. There are plenty of beautiful designs still waiting to be knitted.