
How to Adjust Old Patterns to Modern Sizing
You’ve found it.
The pattern you’ve been looking for: a beautifully illustrated 1940s tea dress with a fitted bodice, a gentle flare, and the kind of effortless elegance that modern patterns rarely capture.
Perhaps you spotted it whilst browsing My Vintage Wish, where original sewing patterns from the 1930s, 1940s, 1950s and 1960s sit waiting to be brought back to life. From wartime
utility dresses and elegant tea frocks to fitted cardigans and classic skirt designs, every pattern comes with its own sizing challenges and rewards. You pick up the envelope, turn it
over and find the size chart. Then you stop. A size 16 that lists a 34-inch (86 cm) bust. A waist measurement that seems impossibly small. The number on the envelope doesn’t match
anything in your experience of modern sizing, and for a moment the whole project feels pointless.
This is the point where many sewers either abandon the pattern entirely or push ahead without understanding the measurements, only to end up with something that doesn’t fit.
Neither outcome is necessary.
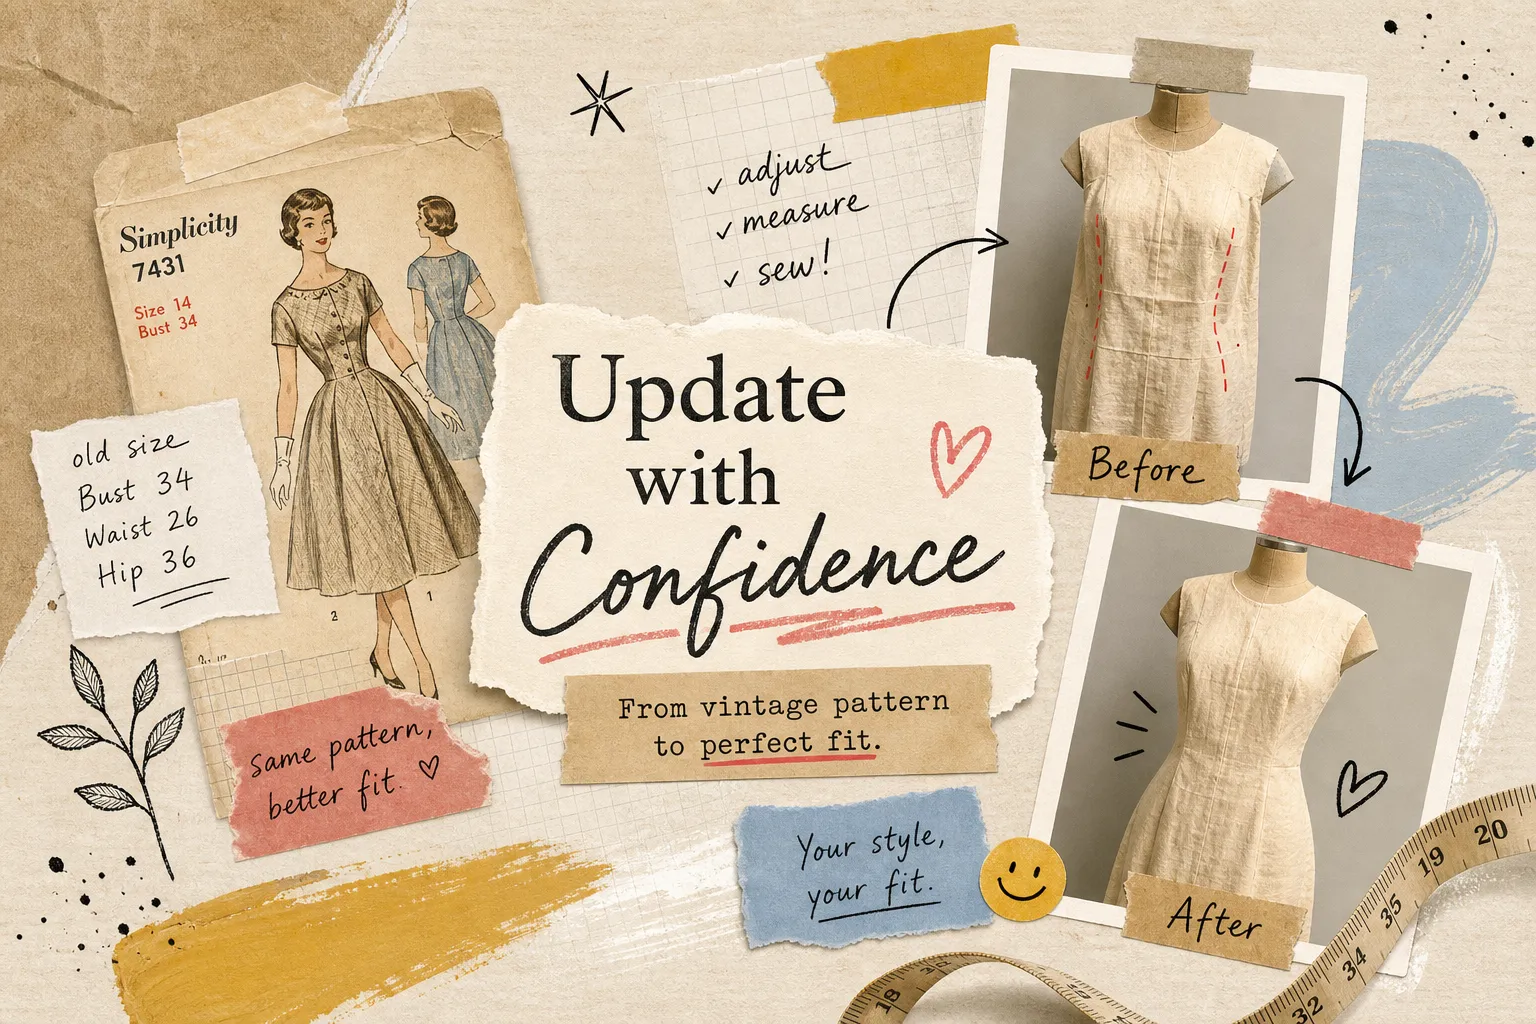
Learning how to adjust old patterns to modern sizing is completely achievable. The process follows a logical sequence: measure first, compare measurements, account for ease, make
size adjustments, refine the fit where needed, and test everything in a toile before cutting your final fabric.
The good news is that none of these steps is particularly difficult. The challenge is simply understanding what needs to happen and in what order. In this guide, we’ll walk through the
entire process.
Why the Size Number on a Vintage Pattern Means Almost Nothing
One of the biggest mistakes beginners make is assuming a vintage pattern size works like a modern clothing size. Unfortunately, it doesn’t. Modern UK sizing follows a relatively standard
system. Vintage patterns were produced during a time when sizing varied significantly between manufacturers and decades.
How Vintage Sizing Changed Over Time
During the first half of the twentieth century, companies such as Simplicity, Butterick and Vogue all used their own measurement charts. A vintage size 14 from the 1950s might have
been drafted for a 32-inch (81 cm) bust, while today’s UK size 14 is generally designed for much larger measurements.
This is why you’ll often hear vintage sewers say that vintage sizes run approximately four sizes smaller than modern ones. As a rough guide, that’s often true. But it’s not reliable enough
to base your project on. The actual measurements always matter more than the number printed on the envelope.
Why Measurements Matter More Than Labels
Instead of asking: “What modern size is this?”
Ask: “What measurements was this pattern designed for?”
Once you make that shift, vintage sizing becomes much less confusing. You’re no longer trying to convert one size system into another. You’re simply comparing measurements and
calculating the difference. One reason vintage sizing causes so much confusion is that many original patterns were drafted for body proportions that reflected the fashions and
foundation garments of the time. A fitted 1940s tea dress pattern or a structured 1950s wiggle dress often assumed the wearer would be using undergarments very different from
those worn today. As a result, modern sewers frequently need to make adjustments even when the pattern measurements appear correct on paper.
Measuring a Vintage Pattern Correctly
Before making any alterations, you need to know exactly what you’re working with. Many sewers jump straight to grading a pattern larger or smaller, but accurate measurements
should always come first.
Body Measurements vs Finished Garment Measurements
Vintage pattern envelopes may include:
- Body measurements
- Finished garment measurements
These are not the same thing. Body measurements refer to the person the pattern was intended to fit. Finished garment measurements include extra room for movement and comfort,
known as ease. Whenever possible, measure the actual pattern pieces rather than relying entirely on the information printed on the envelope.
Measuring the Pattern Tissue
Using a flexible tape measure, check:
- Bust
- Waist
- Hips
Remember that many pattern pieces are cut on the fold, meaning the tissue only represents half of the garment. Double the measurement to calculate the full circumference.Write these
figures down and compare them directly with your own measurements.
Don’t Forget Length Measurements
Vintage patterns were drafted for different body proportions than many modern figures.
Measure:
- Shoulder to waist
- Waist to hip
- Waist to hem
You may discover that the width fits perfectly while the length needs adjusting.
Check the Seam Allowances
One small detail that catches many beginners out is seam allowance. Some vintage patterns include seam allowances. Others don’t. Always establish whether you’re measuring
the cutting line or the stitching line before making any calculations. A small discrepancy here can affect the fit of the finished garment.
Understanding Ease Before You Resize
Ease is simply the extra room built into a garment beyond your actual body measurements. Without ease, movement would be extremely restricted. Many 1940s and 1950s
garments were designed to fit much closer to the body than modern clothing. A fitted 1940s bodice may contain only around 2 inches (5 cm) of ease at the bust. Modern
sewing patterns often include 3 to 4 inches (7.5 to 10 cm) or more. This is particularly noticeable when sewing from authentic vintage patterns. Many first-time vintage sewers
are surprised by how close-fitting an original 1940s bodice or 1950s skirt can feel compared with modern commercial sewing patterns.
Understanding ease helps you decide whether you’re aiming for historical accuracy or a slightly more relaxed modern fit. Before making any alterations, decide how much ease
you want in the finished garment. That figure becomes part of your target measurement.
Grading a Vintage Pattern
Once you’ve compared your measurements with the pattern and decided how much ease you’d like, you can begin resizing the pattern.
One of the most reliable methods is known as slash-and-spread grading. This involves cutting the pattern strategically and spreading sections apart to add width and length
while maintaining the original design lines. When increasing a pattern significantly, work gradually. Adding more than around 2 inches (5 cm) in a single adjustment can distort
armholes, darts and seam lines.
For larger alterations, make changes in stages and redraw the pattern after each adjustment.
If you’re completely new to grading and fitting vintage sewing patterns, the Complete Sewing Pattern Alteration Guide for Vintage & Modern Patterns provides detailed step-by-step
instructions covering grading, resizing, bust adjustments, sleeve alterations, length adjustments and many other common fitting techniques. It is particularly useful when working
with original vintage patterns where modern sizing assumptions often don’t apply.