

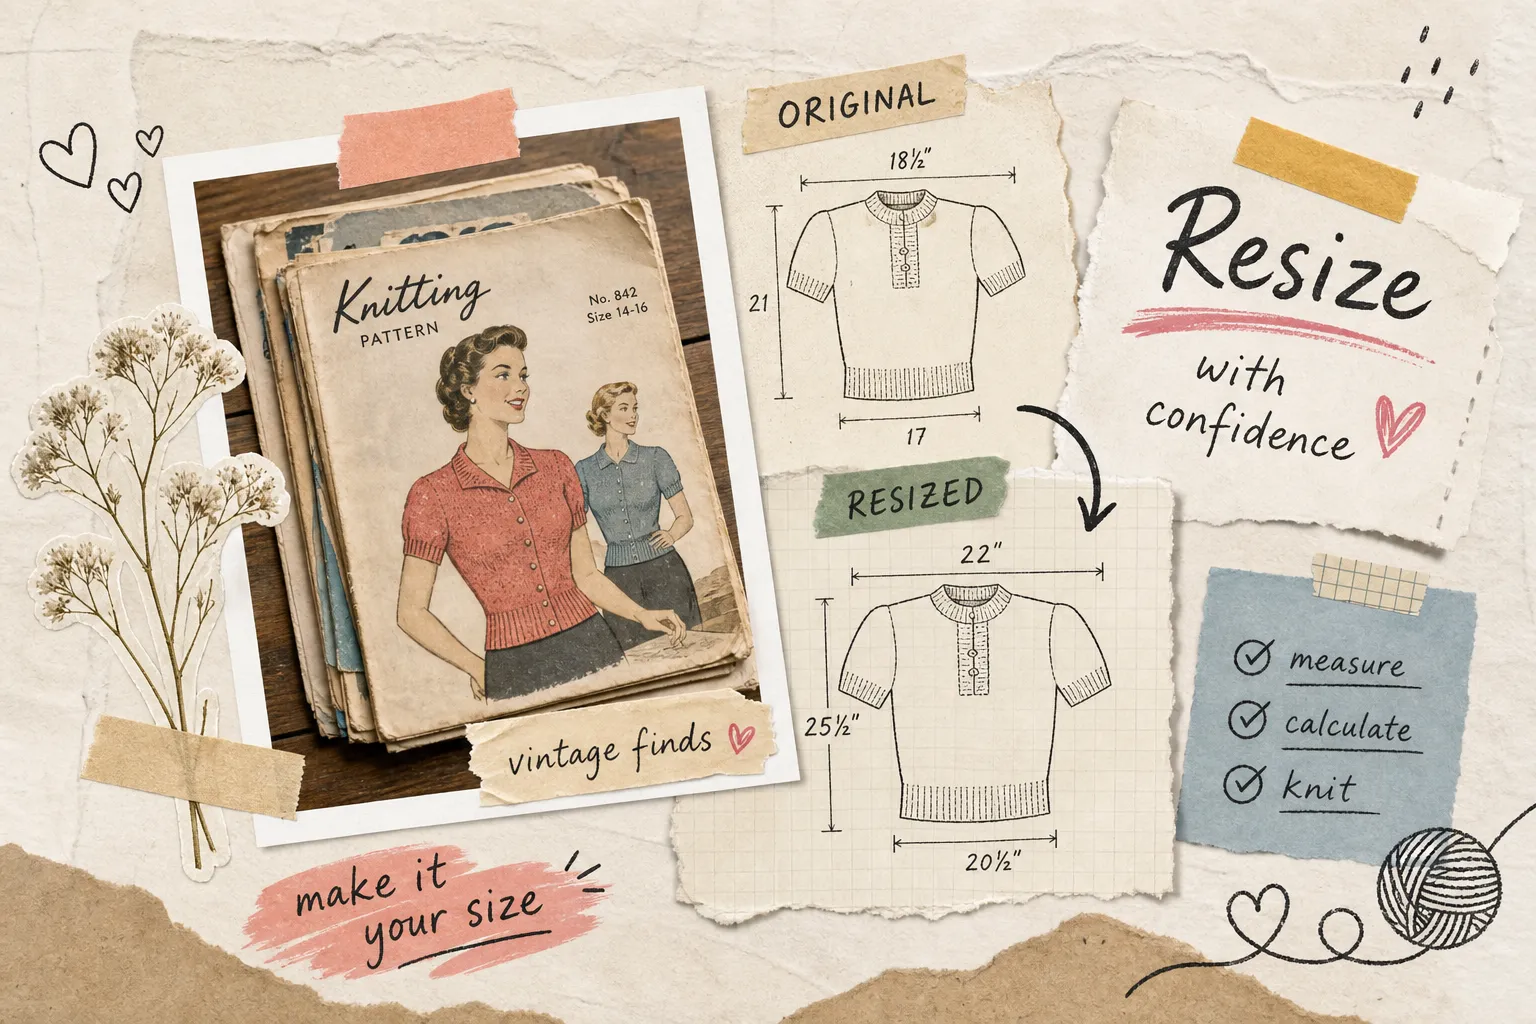
You find a stunning 1940s cardigan pattern. The photography is gorgeous, the silhouette is exactly what you’ve been searching for, and then you look at the sizing. “To fit 34-inch bust.” You measure yourself. You’re a modern size 14. You stare at the page for a while, wondering if these numbers belong to a different universe entirely. They sort of do.
That gap between what a vintage label says and what your body actually needs is where most crafters abandon the whole idea. Which is a shame, because knowing how to resize a vintage knitting pattern is genuinely learnable. It takes a little maths, a reliable swatch, and the patience to work through the steps in the right order. Once you understand the sequence, none of it is as intimidating as it first appears.
By the end of this article, you’ll know how to decode vintage sizing conventions, calculate new stitch and row counts from your gauge, preserve stitch pattern repeats when you scale up or down and adjust armhole and sleeve cap shaping so everything works as a connected system. Before any of that, though, you need an actual vintage pattern to practise on. The catalogue at My Vintage Wish holds nearly 900 authentic era patterns starting from £3.99, affordable enough to pull one out purely for the learning exercise.
Why vintage sizing makes no sense at first glance
Vintage knitting patterns from the 1930s through to the 1960s used category labels like “Misses,” “Juniors,” and “Women’s,” and these weren’t just different sizes, they described entirely different body proportions. A Juniors pattern assumed a slender teenage figure; a Women’s size wasn’t a continuation of the Misses range but a separate system starting around a 38-inch bust. The number on the label tells you almost nothing useful on its own.
A vintage pattern labelled “Size 34” almost always refers to the finished bust measurement of the garment in inches, not to your body measurement, and certainly not to any standardised modern size. A common rule of thumb is that vintage patterns run approximately six sizes smaller by modern labelling conventions. The only reliable approach is to ignore the label entirely and work from actual measurements instead.
There’s also a distinction worth understanding before you pick up a pencil: body measurements are yours, and garment measurements are the finished dimensions of the knitted piece. Many vintage patterns list the finished garment chest measurement, not the body measurement the garment is designed to fit. The ease is often already built in, but far less of it than modern knitters expect. A 1940s pattern is typically close-fitting by design, drafted with as little as one inch of ease at the bust. Modern fitting preferences sit closer to two to four inches. Factor that in before you start resizing, or you’ll produce a garment that technically matches your measurements but feels uncomfortably snug when you put it on.
One last practical note on the numbers themselves: vintage UK patterns generally use inches throughout, though some post-1960s editions begin mixing in centimetres. Establish which system your pattern uses before you start any calculation, and convert fractional inches to decimals for cleaner arithmetic. It saves a surprising amount of confusion later.
How to resize a vintage knitting pattern: the gauge swatch you cannot skip
Everything else in this process rests on your swatch. There is no shortcut around this. Knit a swatch at least six inches square using the pattern’s stated yarn and stitch pattern, then wash and block it exactly as you intend to treat the finished garment. Gauge changes after blocking, sometimes significantly. One unblocked swatch can produce a chest measurement three or more inches off from the blocked result, enough to make the difference between a garment that fits and one that doesn’t.
When you measure, count stitches and rows over four inches in the centre of the swatch, not at the edges. The edges curl and distort the count. Record both your stitch gauge (stitches per four inches) and your row gauge (rows per four inches). Both numbers are needed for the calculations that follow.
Once you have those numbers, there’s a decision to make. If your swatch gauge doesn’t match the pattern’s stated gauge, change needle size first. Going up a needle size gives you fewer stitches per inch; going down a size gives you more. The goal at this stage is to match the pattern’s gauge so that your stitch count calculations are reliable. Once your gauge matches, you use stitch count changes to alter the finished size. Attempting to adjust both needle size and stitch count simultaneously makes the maths unreliable. Sort out needle size first, then calculate stitch counts for your target measurements.
Sizing maths when you resize a vintage knitting pattern
Calculating stitches per inch
The core formula is straightforward. Divide your gauge stitch count by the gauge width in inches to get stitches per inch, then multiply by your target measurement. If your gauge is 20 stitches over four inches, that’s five stitches per inch. For a 38-inch finished chest, the front panel needs 19 inches multiplied by five, giving you 95 stitches. (The chest is split across front and back, so you’re calculating each panel separately.)
Converting measurements to row counts
The same logic applies to lengths. Divide your gauge row count by the gauge height in inches to get rows per inch, then multiply by the desired length. At 28 rows over four inches, that’s seven rows per inch. A 14-inch body length from cast-on to underarm gives you 98 rows. For lengths, many knitters prefer working to a measurement rather than a row count, because row gauge tends to be less consistent than stitch gauge. Where shaping rows are involved, waist darts, underarm bind-offs, or shoulder slopes, row counts matter and must be recalculated carefully.
To illustrate the full sequence: suppose your original pattern calls for 90 stitches on the front panel at a gauge of 18 stitches over four inches (4.5 per inch), but your swatch gives you five stitches per inch. Your target finished front width is 19 inches. Multiply 19 by five to get 95 stitches. Check this against the stitch repeat before finalising, see the next section for how to handle that adjustment.
Before writing down any final stitch count, check it against the stitch repeat. Your new count must fit the pattern’s repeat unit, and that constraint is covered in the next section. Always resolve the repeat requirement before committing to a final figure.
Keeping stitch pattern repeats intact when you resize vintage knitwear
This is the step that most resizing guides skip over, and it’s where a lot of careful work unravels. Every stitch pattern has a repeat unit: the smallest block of stitches that, when worked across a row, produces the correct fabric. In vintage patterns, you’ll find it enclosed in brackets or asterisks, or described as “repeat to end.” Your new stitch count must be a multiple of this repeat number, plus any edge stitches the pattern specifies. That constraint governs every vintage pattern alteration you make.
The rule is simple in practice: only add or remove complete repeats. If the repeat is six stitches and your calculation tells you to add approximately 12 stitches, adding two full repeats is clean. If your calculation gives you a number that isn’t a neat multiple, round to the nearest multiple and accept a fractional ease difference, the stitch pattern integrity is worth it. Recalculate the actual finished width from your final stitch count so you know exactly what size the garment will be after rounding. Don’t assume the target measurement is still accurate once you’ve adjusted for the repeat.
For Fair Isle patterns with larger colour repeats spanning eight to twelve stitches, this rounding can shift the finished measurement by half an inch or more. Recalculate the actual finished width from your final stitch count so you know exactly what size the garment will be after the adjustment.
Resizing vintage knitting pattern armholes, sleeve caps and necklines
Armhole depth isn’t independent of body width. As you increase the chest measurement, the armhole must deepen proportionately so the sleeve aligns with the wearer’s actual underarm position, this is where adapting a vintage sweater pattern becomes a genuinely interconnected system rather than a series of isolated calculations. A useful reference point: the lower armhole shaping (the initial cast-off at the underarm) should be completed in roughly the lower third of the total armhole depth. If your new armhole is deeper than the original, spread those cast-off rows across a proportionately longer section.
The sleeve cap must then be redrawn to match the new armhole. The sleeve cap perimeter needs to correspond to the finished armhole perimeter. As a well-established vintage reference, sleeve cap height is typically 7.5 to 10 centimetres less than the total armhole depth, so a 20-centimetre armhole expects a cap of roughly 10 to 12.5 centimetres. As you deepen the armhole, the sleeve cap grows taller. Recalculate sleeve cap height using your row gauge, then redistribute the cap shaping rows so the curve remains smooth, following the same logical structure as the original pattern: gradual decreases becoming steeper toward the crown. Do not scale one element in isolation. The armhole and sleeve cap are a matched pair and must be adjusted together.
For necklines, the approach is simpler. Scale the initial cast-off at the centre front proportionately with the new chest width, and recalculate the neck shaping rows using your row gauge. Neckline depth usually stays close to the original unless the wearer’s preference differs, because neckline depth is governed more by personal choice and garment style than by body width.
A pre-cast-on checklist before you begin
Before casting on, run through these checks to confirm your vintage pattern alterations are complete:
- Target measurements confirmed with ease included
- Gauge swatch knitted, blocked and measured
- Needle size adjusted to match pattern gauge
- New stitch and row counts calculated for every panel
- Every stitch count checked against the pattern’s repeat unit
- Armhole depth and sleeve cap height recalculated together
- Neckline cast-offs and shaping rows updated
Putting the resized pattern together
The sequence looks like this: decode the sizing and establish your target measurements with ease included, swatch and match gauge, calculate stitch and row counts, check every number against the stitch repeat, then work through armhole and sleeve cap shaping as one connected system. Written out like that, it sounds almost routine. The first time through it will feel slow, and that’s completely normal.
The second time feels more logical. By the third pattern, you start anticipating the decisions before they arrive. That’s how this kind of skill develops, and the best way to build it is to practise on real vintage patterns rather than modern reprints with a retro aesthetic. Authentic patterns from the era carry the genuine vintage conventions: the original ease assumptions, the older UK abbreviations like “wool over needle” and “cast off,” and the stitch instructions written in the idiom of the time. Working with those originals teaches you something that working with a modern interpretation simply doesn’t. The collection at My Vintage Wish gives you that access directly, with patterns spanning the 1930s to the 1960s at prices that make pulling one out for a learning project entirely reasonable. If you want a single-pattern example to practise on, try a straightforward period jumper such as the 1930s Yoked Jumper with Puff-top Sleeves Knitting Pattern.
When you resize a vintage knitting pattern, the goal isn’t a perfect result on the first attempt, it’s understanding the logic well enough to recognise when something doesn’t add up and knowing how to correct course. The knitter who can do that is capable in a way that following a pre-sized modern pattern never quite produces. And that capacity, once you have it, applies to every vintage pattern you pick up from here on. If you need a refresher on converting stitch and row totals back to finished measurements after adjustments, see a helpful guide on recalculating your size.